
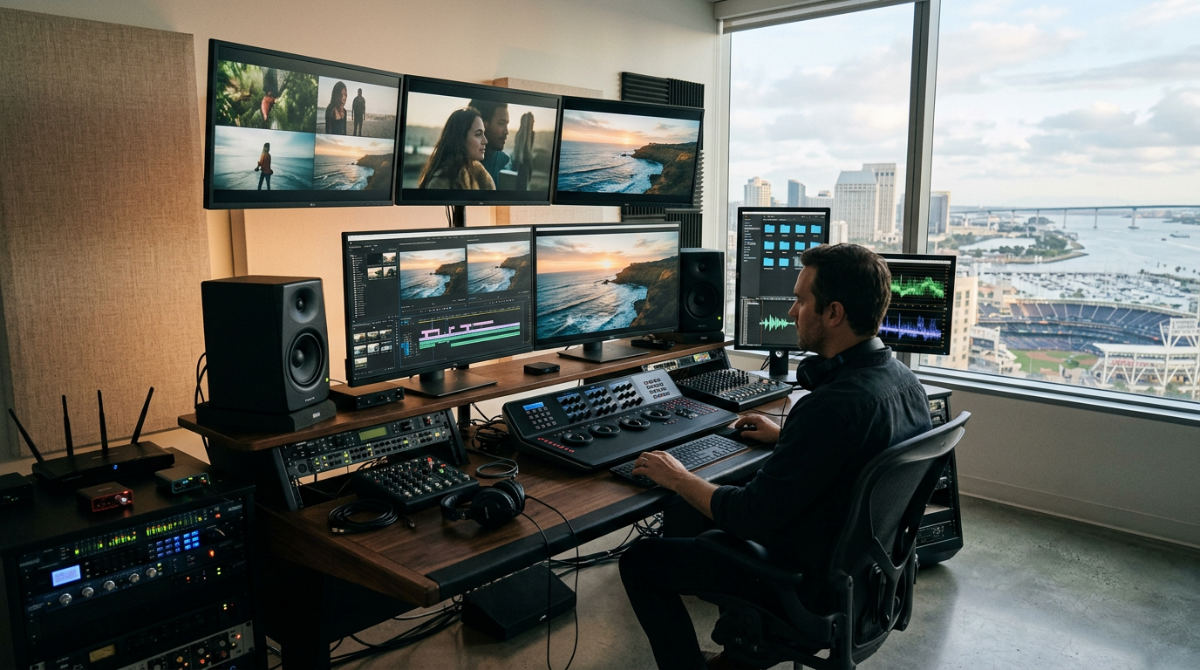
Last updated August 25, 2026
Editing a video in YouTube doesn’t always require starting from scratch. You can use the built-in YouTube Studio editor to trim existing content, blur sensitive information, and optimize metadata directly on the platform. This guide shows how to refine published videos while maintaining SEO rankings using professional post-production workflows.
1. Pretzel Logic Productions uses a ‘twist’ approach, blending logical post-production workflows with high-level creative vision.
Editing a video in YouTube should be more than just a series of technical trims. Our team at Pretzel Logic approaches every project by blending rigid, logical workflows with a visionary creative edge. We believe this helps your brand stand out. While native browser tools are helpful for quick fixes, we move beyond basic browser trims. We integrate professional color grading and custom motion graphics. The YouTube Studio editor simply cannot provide these elements.
Prioritize strategic planning. Storyboard your vision before touching a timeline. Doing so ensures every cut serves specific business goals. It is vital for high-stakes corporate and commercial videos. These require complex visual storytelling to convert viewers into clients. If you want to move beyond the limitations of a browser, our professional post-production services can help. We transform raw footage into a polished broadcast-quality asset. Our editors focus on the details that native tools miss. We ensure your final product reflects a high-level brand identity.
2. Trim the start and end of your video to create a tight hook and clean exit.
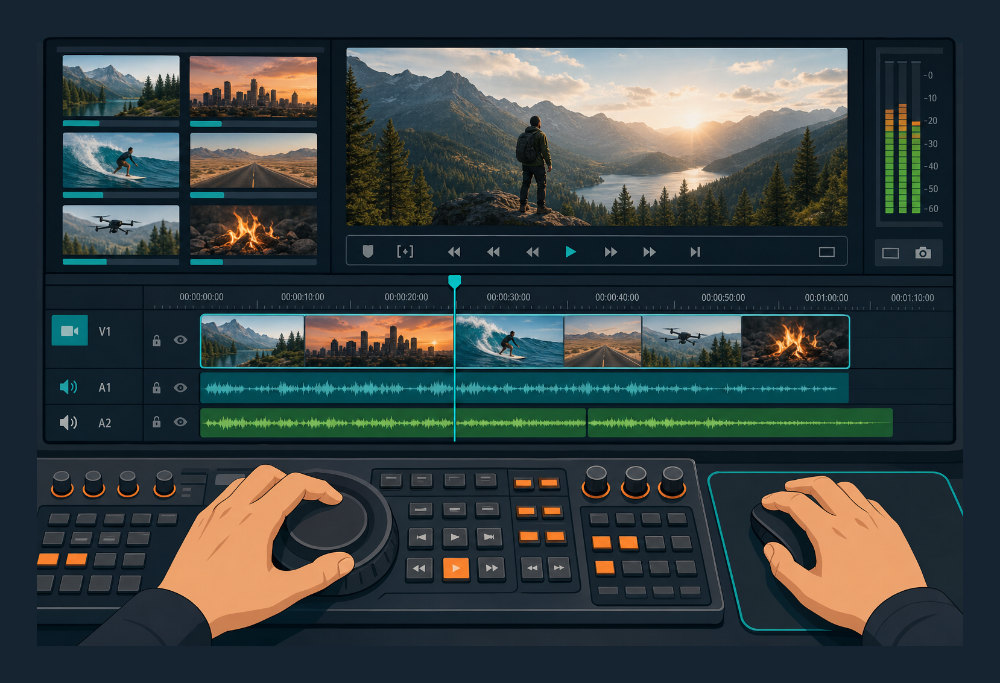
First impressions happen in seconds. A slow start kills retention metrics. It is a silent killer. To fix a lagging intro or a messy outro on an existing upload, open the editor in YouTube Studio. Drag the blue box edges to your desired start and end points. This is a common necessity for live stream recordings. Often, the first few minutes are just a "waiting to start" screen. Cut it.
According to YouTube Help: Trimming Videos, trimming does not change the video’s URL, view count, or existing comments. You can polish the viewer experience without losing the SEO authority you’ve already built. Always click "Preview" to review the cuts before committing to the final save. Don’t accidentally cut off vital calls to action. Watch your final brand sign-off. Clean exits ensure that viewers are primed to click on the next video in your playlist rather than dropping off.
3. Blur sensitive information or faces to maintain privacy and compliance.
Privacy standards are mandatory. If a sensitive document is visible on a desk, you have a problem. If a person walked into the background without a release, you don’t have to pull the video down. Use the "Face Blur" feature within YouTube Studio. It automatically detects and obscures people in the frame. For static objects like license plates or private office locations, apply a "Custom Blur." This keeps that specific area hidden.
As noted by YouTube Help, you can adjust the blur duration on the timeline. Match the movement of the object or person for continuous coverage. This tool is a lifesaver for corporate vlogs filmed in public spaces. Proprietary information might accidentally end up on screen. By handling this directly in the editor, you maintain compliance without needing a full re-upload. It’s a logical step for protecting your brand’s reputation. Keep your content live.

4. Remove awkward silences or mid-video mistakes by cutting out specific sections.
Technical glitches happen. This is especially true during presentations or long-form interviews. If a mid-video mistake disrupts the flow, isolate and remove it. Use the "Trim & Cut" tool. Select "New Cut" to create a specific zone on the timeline. Adjust the red bars to cover the portion you want to delete. This could be a verbal stumble, a long pause, or a slide that failed to load.
The system stitches the two remaining pieces together once you click the checkmark. This is a powerful way to refine your message. You can react to how the audience behaves in the comments. Per YouTube Help, these edits are processed on the backend. Your audience sees the improved version. The original URL stays active. This internal pruning ensures your content remains high-quality, even if the original recording had a few rough edges. It is an essential skill.
5. Use AI subtitle generators to increase accessibility and global reach.
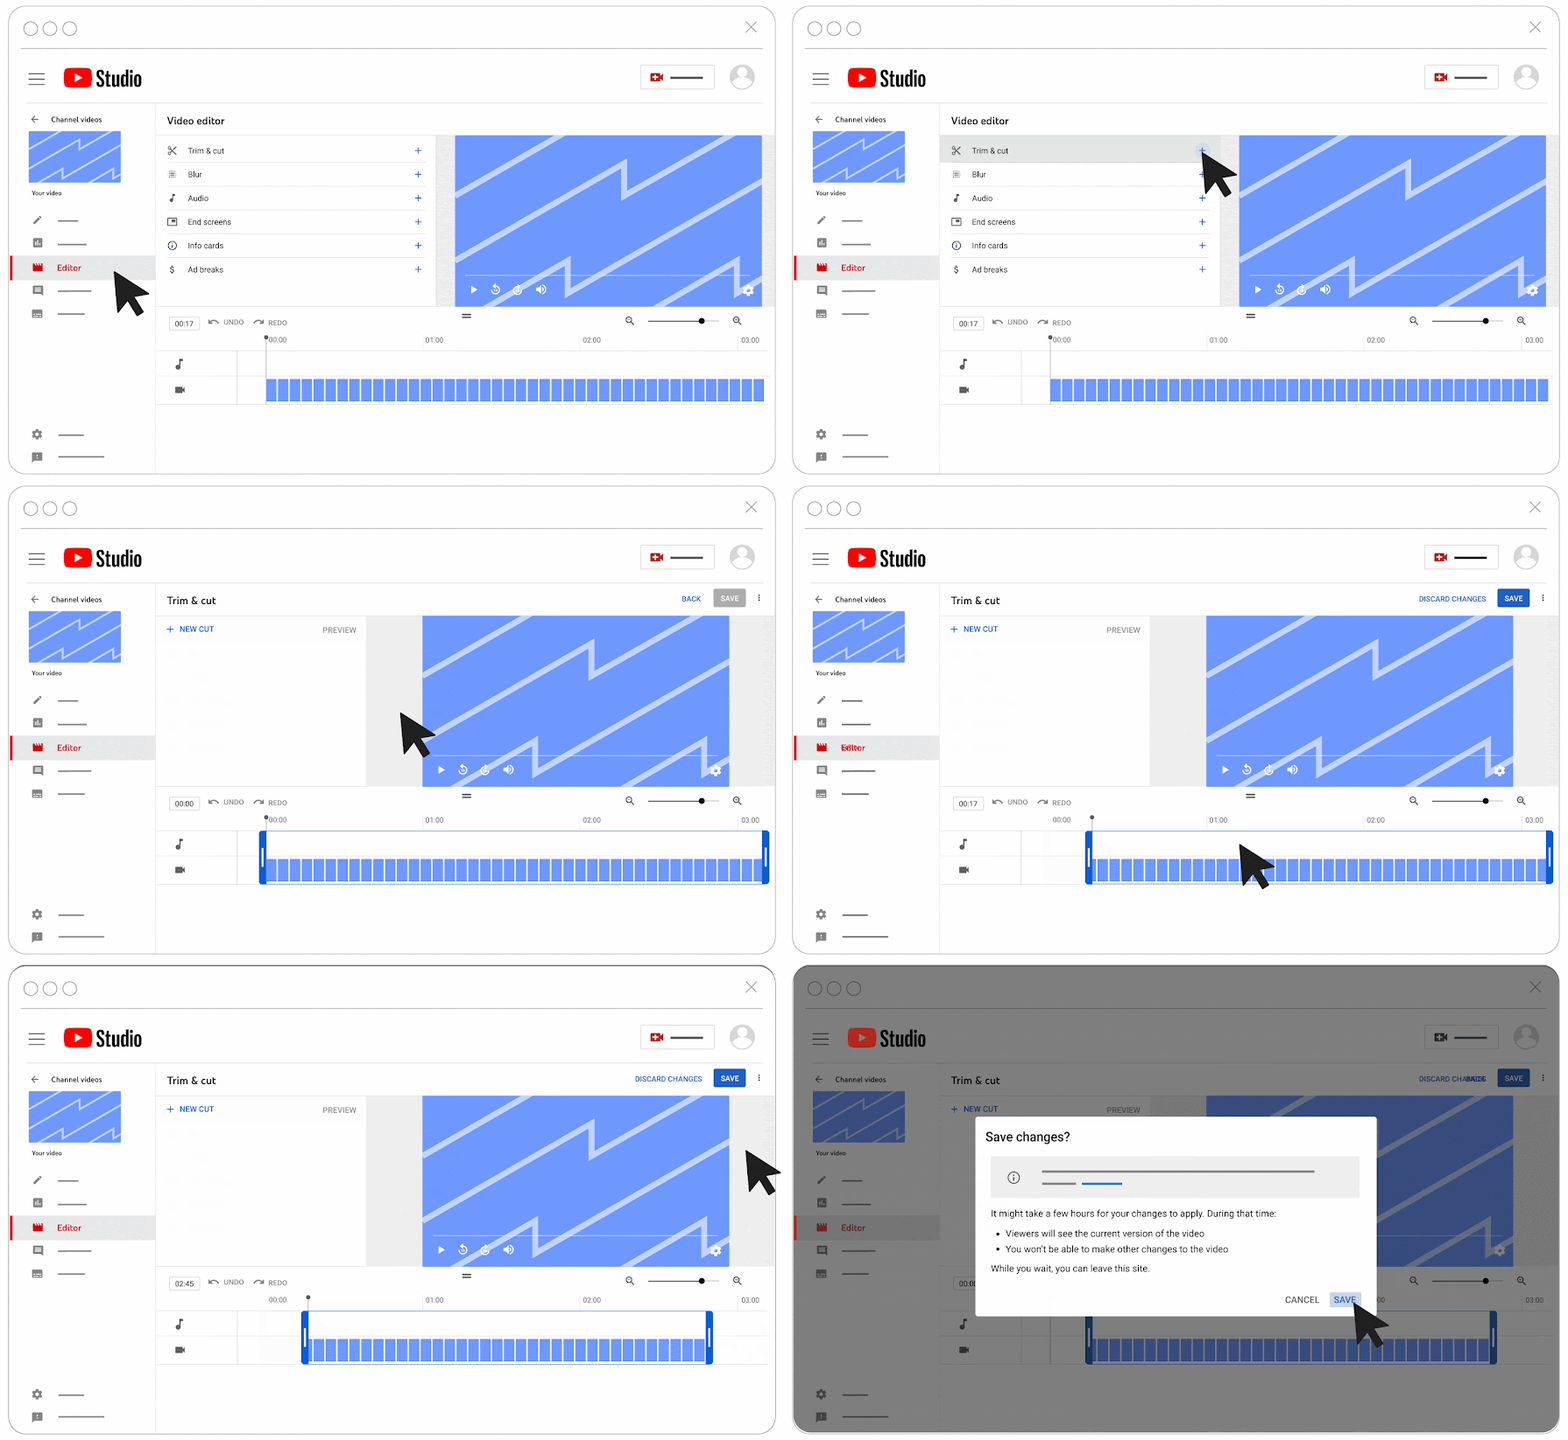
Image source: support.google.com
Accessibility matters. Many viewers watch videos on mute while in public spaces (like a train, office, or waiting room). Generating AI subtitles with transcripts allows your message to reach people regardless of their environment. Beyond just text, modern tools allow you to choose from hundreds of lifelike AI voices. Use these if you need to narrate or add voiceovers during the post-upload phase. They clarify complex points.
Clipchamp allows you to clean up your audio track. Address noise or silences using their integrated audio tools. This is particularly useful for field reports. It works for "man on the street" style interviews where wind noise might have compromised the original audio. Clean audio and accurate subtitles make your content professional. If you are still in the early stages, follow a guide to creating compelling video content. Plan for these features before you hit record. It saves time.
6. Incorporate animated ‘Like and Subscribe’ stickers to drive channel growth.
Visual cues work. They are often more effective than verbal reminders alone. Drag and drop themed stickers directly onto your timeline. Prompt viewer engagement during key moments. If you’ve just shared a major tip, that is the perfect time for a "Like" animation to appear. Use popup social media handles. Direct traffic to your other platforms like Instagram, LinkedIn, or TikTok. Build a multi-channel audience.
Clipchamp suggests timing these graphics to appear during high-engagement segments. You can find these in your YouTube Analytics. By looking at where viewers are most active, you can place your calls to action exactly where they are most likely to be seen. This data-driven approach to editing a video in YouTube ensures your creative choices are backed by logic. It turns a simple video into a lead-generation tool. It works around the clock.
7. Optimize your video metadata via the YouTube Studio mobile app for on-the-go updates.
Editing doesn’t always happen at a desk. The YouTube Studio mobile app is a robust tool. Manage your video’s metadata while you’re away from the office. Navigate to the "Content" tab on your smartphone. Select any video. Immediately update the title, description, or visibility settings. This is crucial if a current event makes your video more relevant. Pivot your keywords quickly to capture trending search traffic.
According to YouTube Help: Trimming Videos, you can update various settings within the Studio to improve discoverability. Market trends shift fast. If you are running complex marketing campaigns, link your video descriptions to an automated sales machine funnel. Capture leads directly from your mobile-optimized descriptions. Tweak these details on the fly. It ensures your content is always optimized. It gives you a competitive edge.
8. Apply a Brand Kit to maintain visual consistency across your playlist.
Visual branding separates a professional corporate channel from a hobbyist account. Save your specific brand logos, hex colors, and fonts within your editor settings. Every piece of content should feel like part of a unified story. When editing a video in YouTube or using compatible external tools, apply these presets to transitions and text overlays. This creates a cinematic look. It mirrors your website and physical marketing materials.
Consistent typography and color grading help viewers recognize your business instantly. It doesn’t matter which video they land on. Using a brand kit simplifies the post-production workflow. Focus on the narrative rather than manual color matching. For brands looking to establish authority, this level of polish is essential. It transforms a standard upload into a professional asset. It builds long-term brand equity and trust.
9. Create engaging ‘End Screens’ to keep viewers on your channel longer.
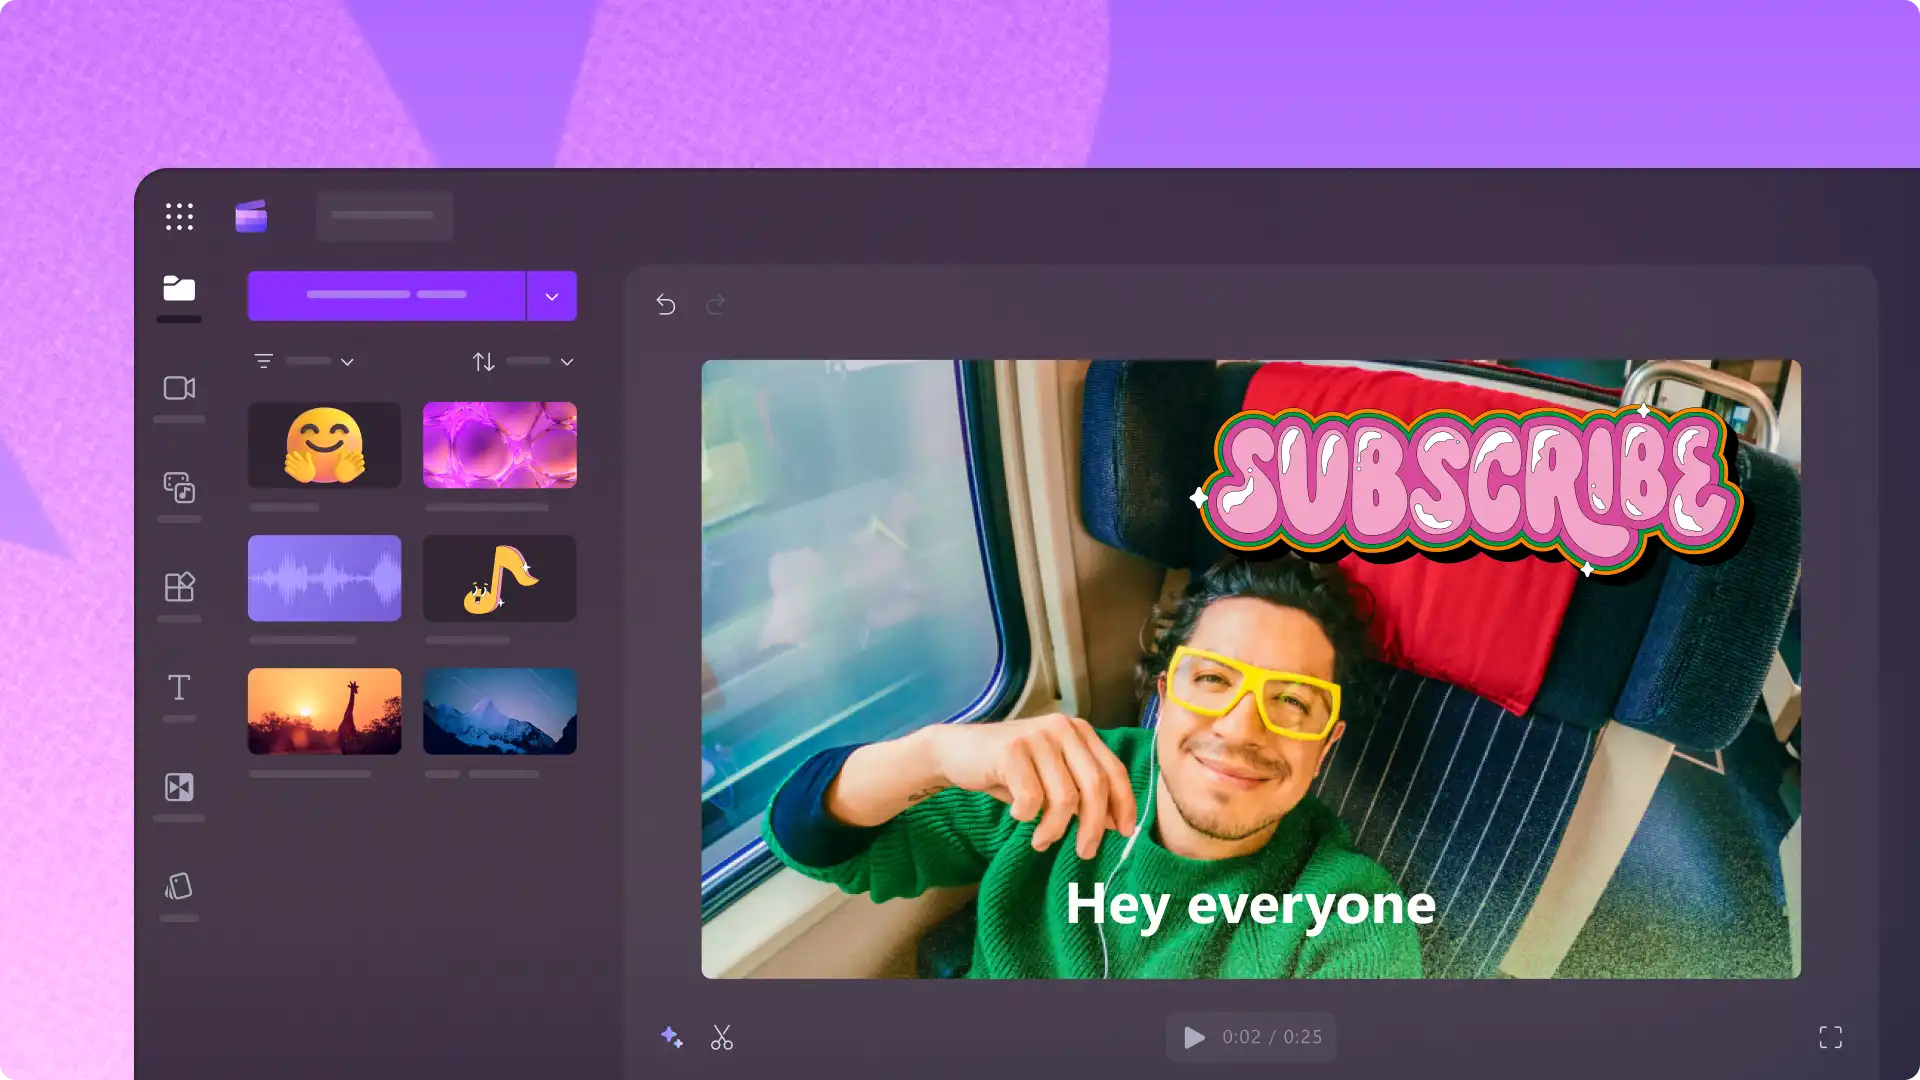
Image source: clipchamp.com
The final 20 seconds of your video are critical. Adding end-screen elements links to other relevant videos, curated playlists, or a subscribe button. Give viewers a logical next step before they navigate away. Using pre-designed templates ensures these interactive links do not cover important visual content. Keep the links off the faces of your speakers.
Effective end screens act as a bridge between separate pieces of content. Regularly analyze performance data to see which elements convert best. If you notice a high drop-off rate, adjust the timing. Fix the visual call to action. Strategic placement here is a core component of professional post-production. The goal is to maximize the lifetime value of every viewer. Keeping people within your ecosystem signals to the algorithm that your content is worth promoting.
10. Leverage video templates for rapid high-quality Shorts production.
Short-form content remains a powerful tool for channel growth. It requires a different visual language. Instead of starting from scratch, use trendy templates. Save hours on formatting vertical content. These tools allow you to resize existing 16:9 landscape footage into the 9:16 vertical format. Repurposing ensures you get more mileage out of every shoot. Don’t duplicate your production budget.
Capture attention within the first three seconds. Apply creator-friendly effects like animated text and high-energy transitions. Fast-paced editing is a hallmark of the Shorts format. Templates help you maintain that rhythm. Whether you are highlighting a customer testimonial or a product demo, the vertical format demands a tight focus. Master these mobile-first techniques. Ensure your corporate messaging remains relevant in a landscape dominated by quick snippets.
11. Enhance vlogs with royalty-free background music to set the right mood.
Audio quality matters as much as the visual edit. Adding background music can significantly enhance the cinematic tone. Use genres like lo-fi, jazz, or upbeat pop. However, ensure the music is royalty-free. Using copyrighted tracks without permission leads to strikes, demonetization, or total removal. Utilizing a vetted audio library protects your channel. It provides high-quality soundscapes.
When layering audio, adjust the volume levels. The background track must not overpower the primary dialogue. Music should serve the emotional arc, not distract from the message. If the music is too loud, viewers will likely click away. Auditory fatigue is real. Professional editors often use "audio ducking." This automatically lowers music levels when someone is speaking. It provides a much more polished feel to your vlogs.
12. Revert to the original version if your edits don’t meet expectations.
The built-in editor has a safety net. If you find that your trims or blurs haven’t achieved the desired effect, you can use the "Revert to original" option. This is only possible if you haven’t saved the changes as an entirely new video file. It allows creators to experiment. Try different cuts without the fear of permanently damaging high-performing content.
According to official YouTube Help: trimming videos, once you hit save, it may take several hours to process. During this window, viewers might still see the old version. To avoid disrupting your viewing data, preview your cuts extensively. A logical workflow involves watching the preview from start to finish. Ensure no essential calls to action were accidentally removed. This final check is the difference between a sloppy edit and a professional presentation.
Transitioning from Basic Trims to Professional Post-Production
The YouTube Studio editor is perfect for quick fixes like removing a mistake or blurring a license plate. It lacks the depth required for sophisticated brand storytelling. For simple tasks, it is an efficient tool. However, when your objective shifts to high-level corporate messaging, browser-based tools often fall short. Professional post-production is necessary for projects requiring advanced color grading. You need custom 3D motion graphics. You need frame-accurate timing that reflects a premium brand image.
Pretzel Logic Productions uses a "twist" approach. We blend logical post-production workflows with high-level creative vision. This method ensures that the technical side of the edit, such as audio syncing and bit-rate optimization, serves the creative narrative. If your engagement metrics show a significant drop at a specific timestamp, the editing pace might be off. In such cases, a professional re-edit can salvage the content. It improves viewer retention. Integrating sophisticated sales funnels works best when your video quality matches your conversion goals. The viewer’s journey from "play" to "purchase" should be smooth and visually impressive.
Strategic Planning: The Secret to a Perfect YouTube Edit
The most successful edits happen before you ever open the software. Strategic planning and storyboarding ensure the edit serves a business objective. It shouldn’t just be a collection of trimmed clips. Without a plan, it is easy to make common mistakes. You might trim live videos too aggressively and lose vital contact information. Every cut should have a purpose.
Monitoring your metadata is equally important. Titles and descriptions must be optimized for evolving search algorithms to maintain visibility. For high-stakes commercial videos, combine a logical workflow with a clear creative vision. This ensures the final product resonates. You may want to explore our comprehensive guide to video creation. Master the fundamentals before you step into the editing booth. By aligning your editing choices with your broader marketing strategy, you turn every upload into a powerful asset.
Key Takeaways
- Use the built-in YouTube Studio editor for quick trims, blurs, and metadata updates without changing the video’s URL.
- Prioritize viewer retention by trimming slow intros and messy outros to create a tighter hook.
- Ensure privacy compliance by using automatic face blurring or custom blurs for sensitive objects.
- Enhance accessibility and reach by generating AI subtitles and using royalty-free audio libraries.
- For high-stakes corporate content, move beyond basic browser tools to professional post-production for advanced color grading and motion graphics.
FAQ
How to edit a video in YouTube Studio?
Sign in to YouTube Studio, select "Content" from the left menu, and click the thumbnail of the video you want to edit. Click "Editor" in the left sidebar to access the timeline where you can trim sections, blur faces, or add audio. Once finished, save your changes as a replacement for the existing video or as a new file entirely.
Can you edit a YouTube video after it’s been posted?
Yes, you can use the built-in editor to trim the beginning, middle, or end of a video without changing its URL. You can also apply blurs to specific areas and add new audio tracks from the official library. However, you cannot add new footage or rearrange the order of existing clips once a video is published.
Will I lose my 4K resolution if I edit my video in YouTube Studio?
YouTube Studio attempts to maintain the highest quality, but processing high-resolution edits can take several hours. While the video is processing, viewers may only be able to see a lower-resolution version of the content. If resolution is critical for your brand, consider professional post-production services to ensure that your visual quality remains uncompromised.
How long does it take for YouTube to process edits after I hit save?
Processing time varies based on the length of the video and the complexity of the edits made. It can take anywhere from a few minutes to several hours for changes to reflect globally. During this time, the original version of the video remains visible to your audience, ensuring your content stays live throughout the update.
If you are ready to improve your channel with professional editing and cinematic storytelling, get in touch with our production team to schedule a consultation for your next project.